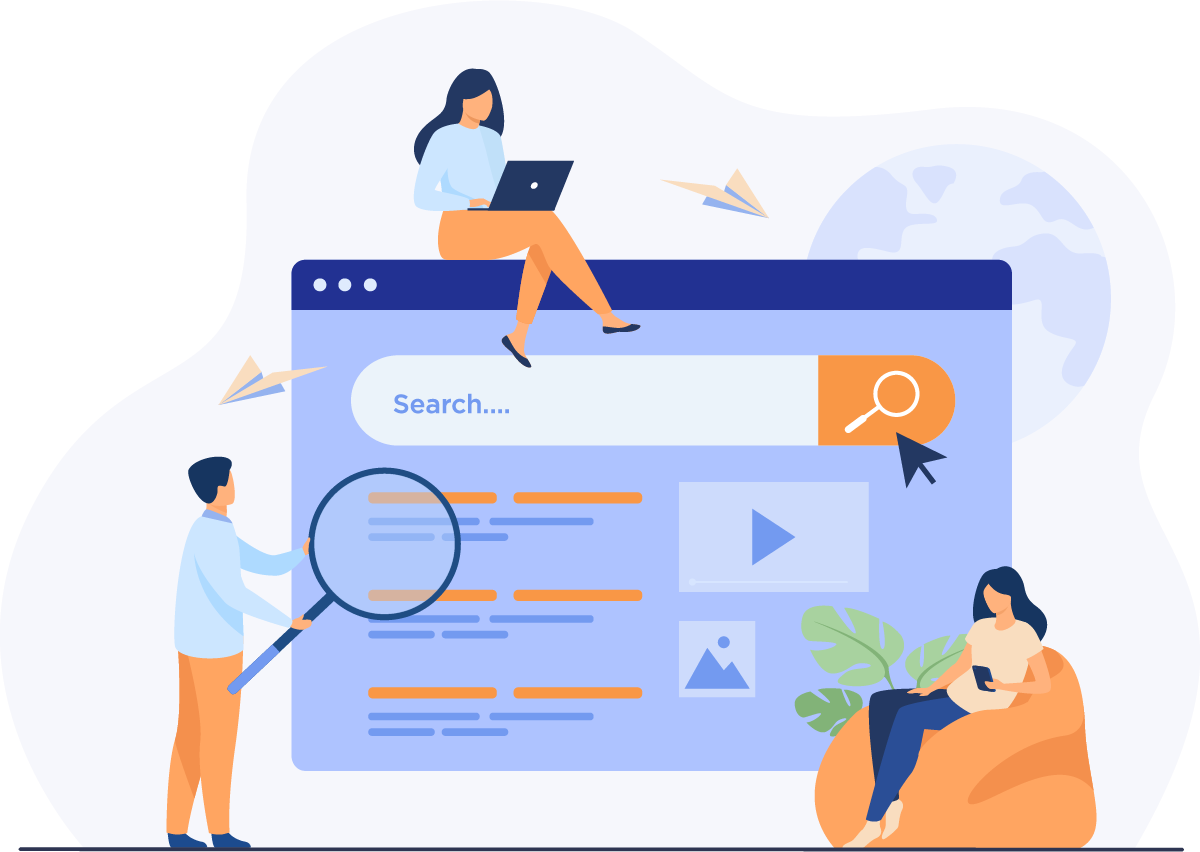
What We Do
At Contensive, we leverage our website design and management expertise along with industry-specific insights to deliver tailored strategies that integrate business acumen and cross-industry experience.

Associations & Non-profits
More than 18 years building websites and functionality specifically designed to grow membership and improve productivity.

Government & Municipalities
Contensive creates advanced content management and database applications for municipal governments, enhancing online citizen communication and efficiency.

Education
Contensive builds online application that help institutes of higher learning present web-facing solutions to their stake holders and manage integrations with 3rd party apps.

Healthcare
From medical practice websites to sophisticated patient management solutions we understand the needs and security concerns of the medical industry.
Let’s work on a solution to your problem today!
Contact UsProcess
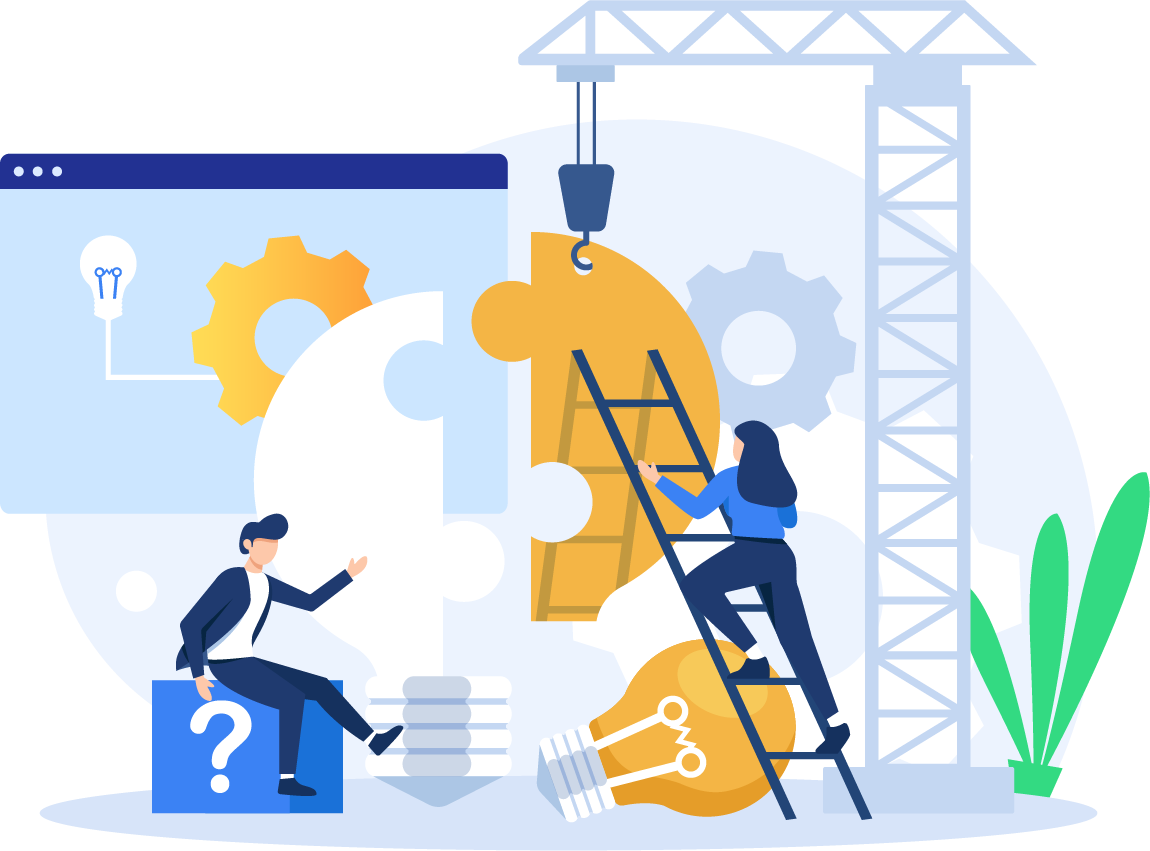
Agile Software Development Process
1

Discovery
An initial review of the overall scope of the project
2
Analysis
Introduce wireframes and concepts with user stories
3
Design
Discuss design directions & general app design
4
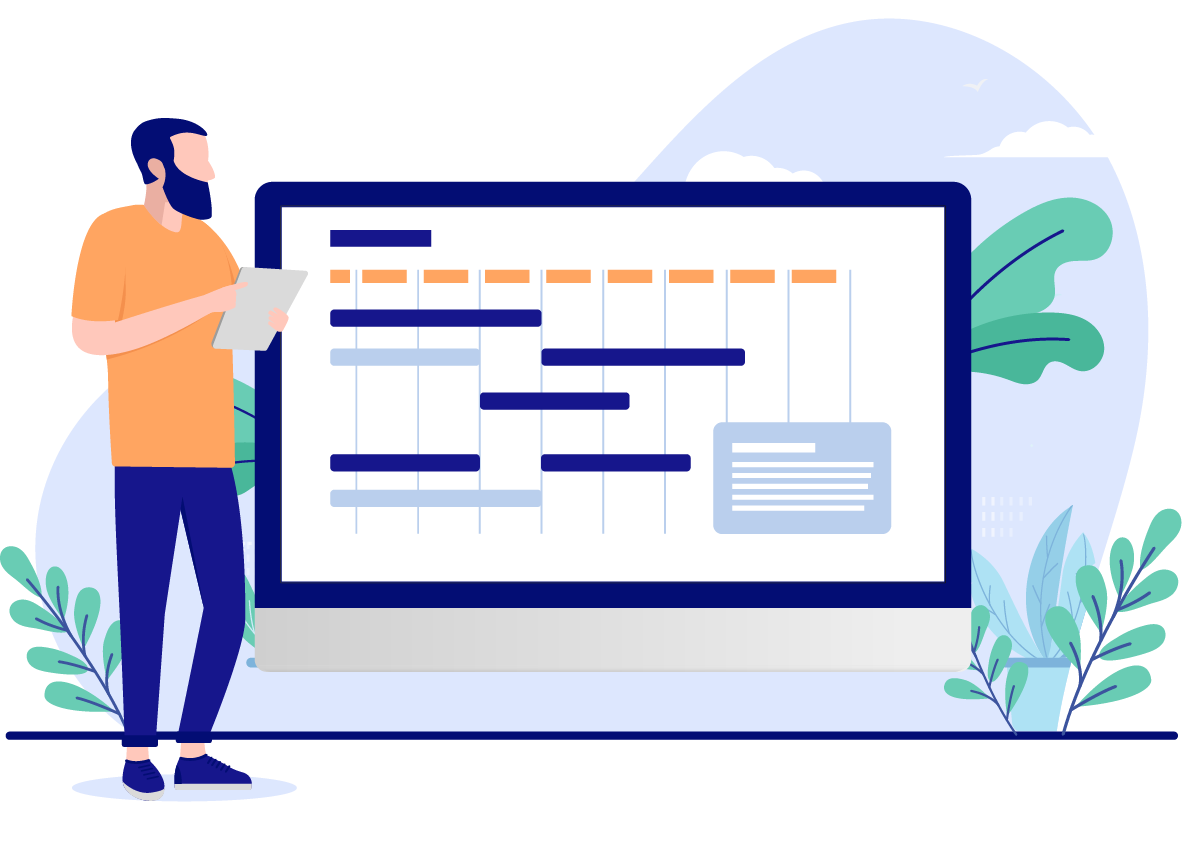
Project Management
Review, estimate, schedule and deliver project scope
5
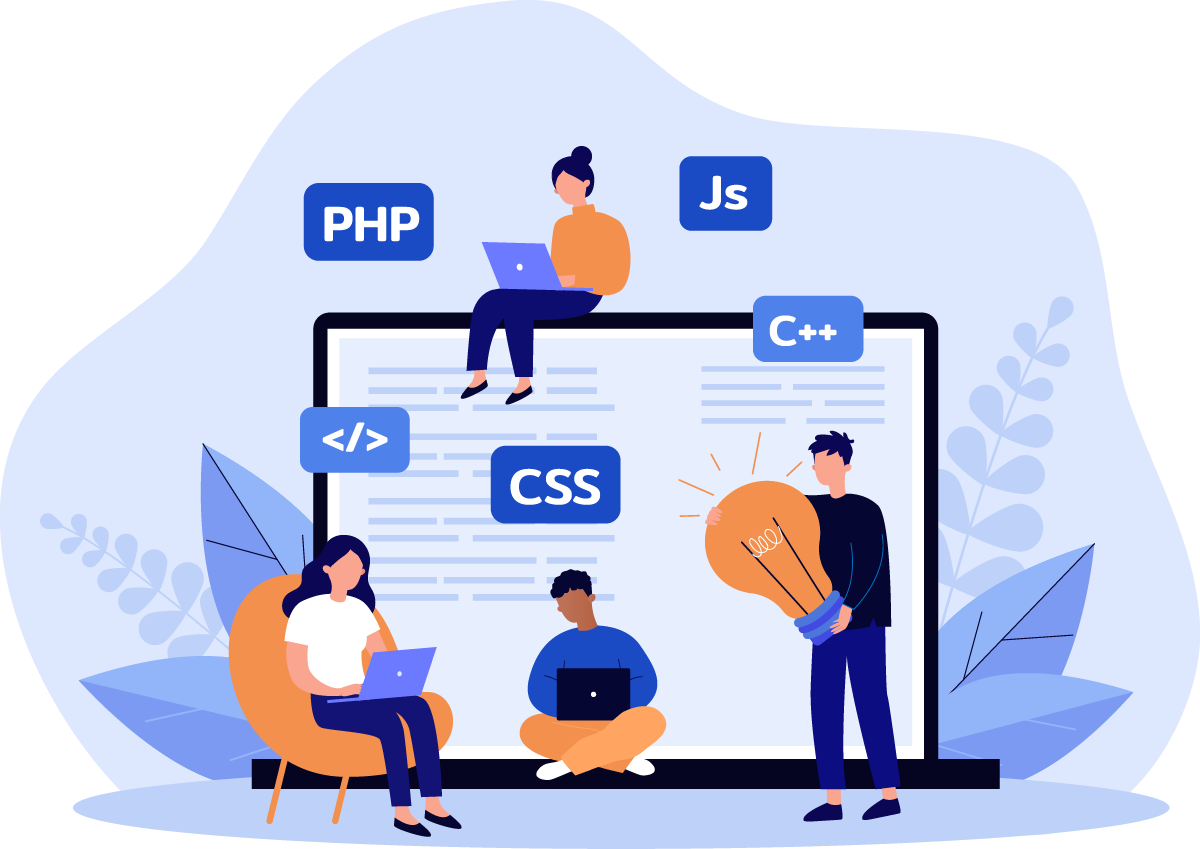
Development
Implement SS/UI code to achieve sprints
6
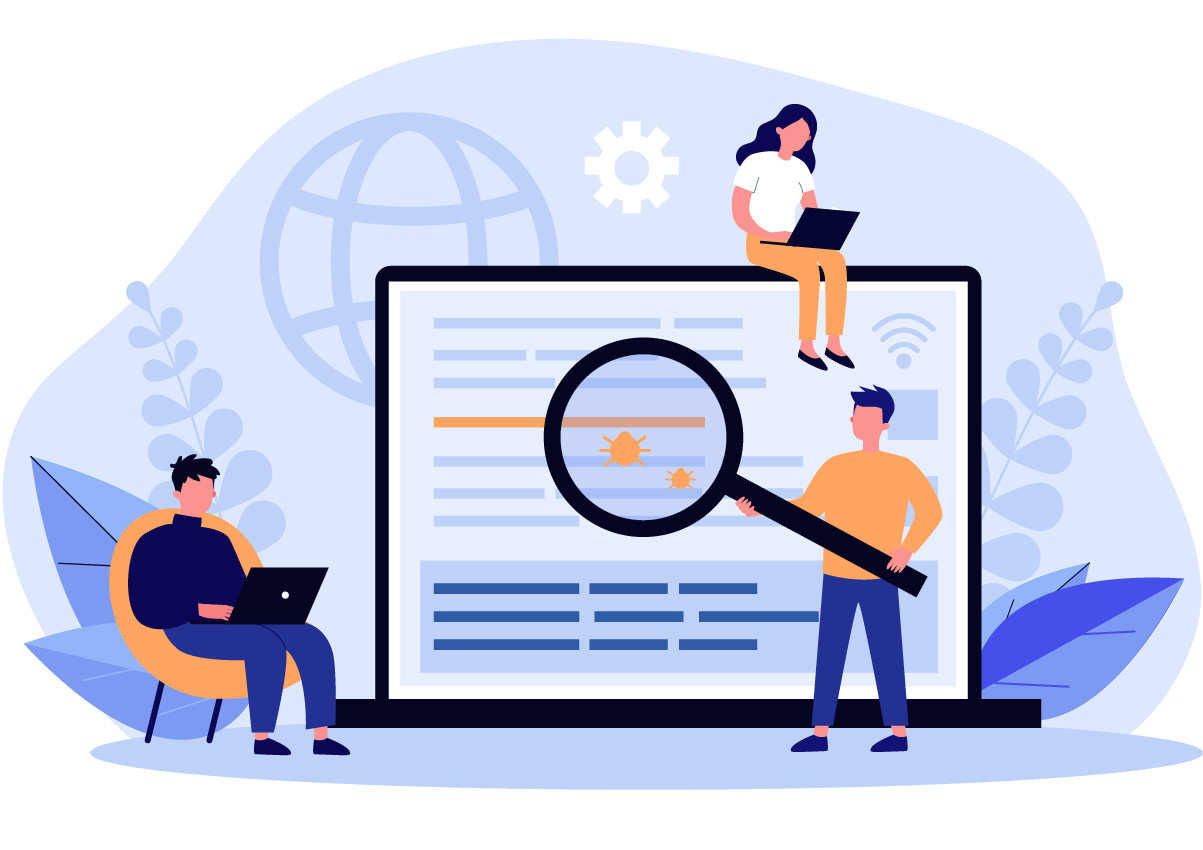
Internal QA & UAT
Review and test SS/UI code on a staging environment
7
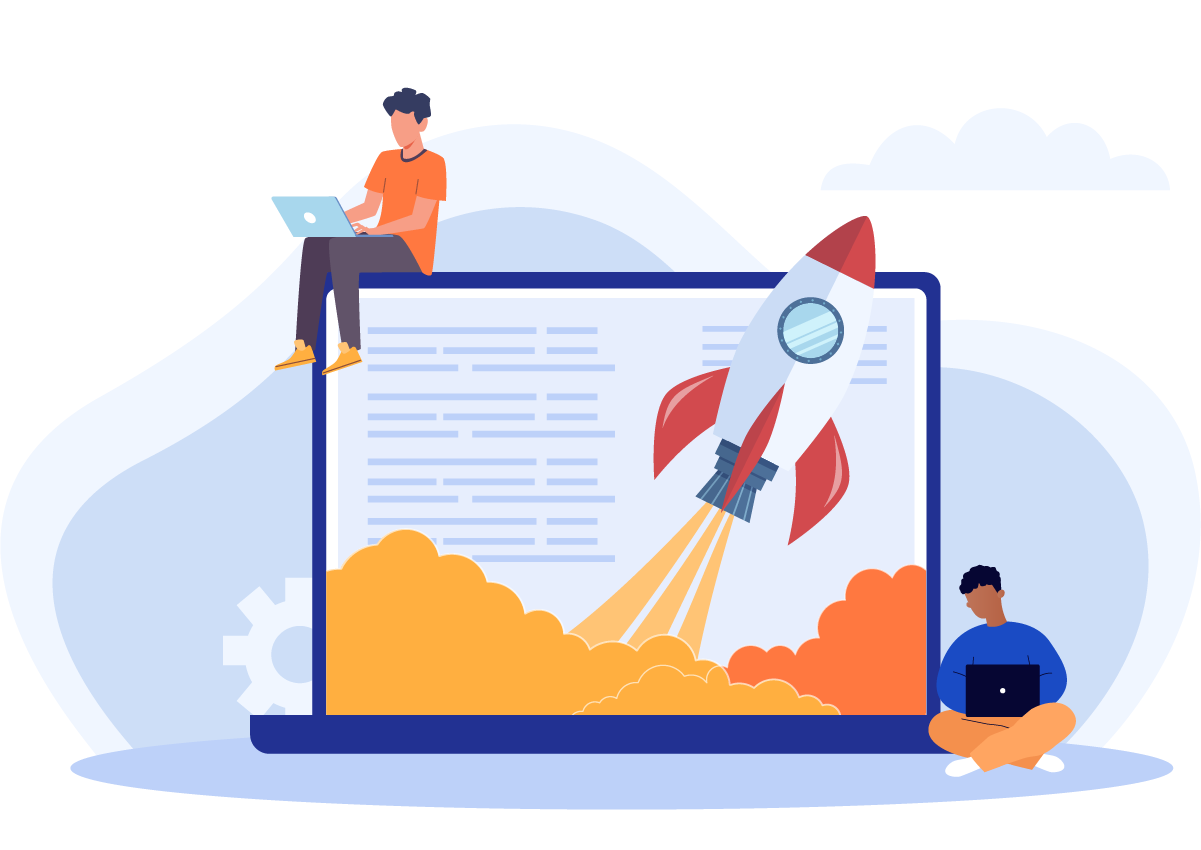
Launch
Scheduled production push with approved development
Benefits
Why You Should Choose Contensive
The greatest product we offer is our experienced team and our dedication to real-world, time-tested principles: a realistic budget, a disciplined process, and enough flexibility and creativity to accommodate any requirement.

Proven Development Process
Our agile scrum process allows total transparency

Time Tested Principles
We follow best practices to get the best results

Realistic Budget
Payment options that will help you succeed
Expertise
30+ year history of customer success and profitability
Talented Team Members
Each developer has disparate skill sets & decades of experience


Experience
Contensive’s Experience
Contensive provides software and services that enable our customers and partners to turn advanced technology into real solutions.
100k+
e-commerce transactions a month
1st
Website allowed in the chamber of US Supreme Court
8 years
Average relationship with client
600+
Websites and applications created
30+
years of experience
300k+
People visiting our applications